
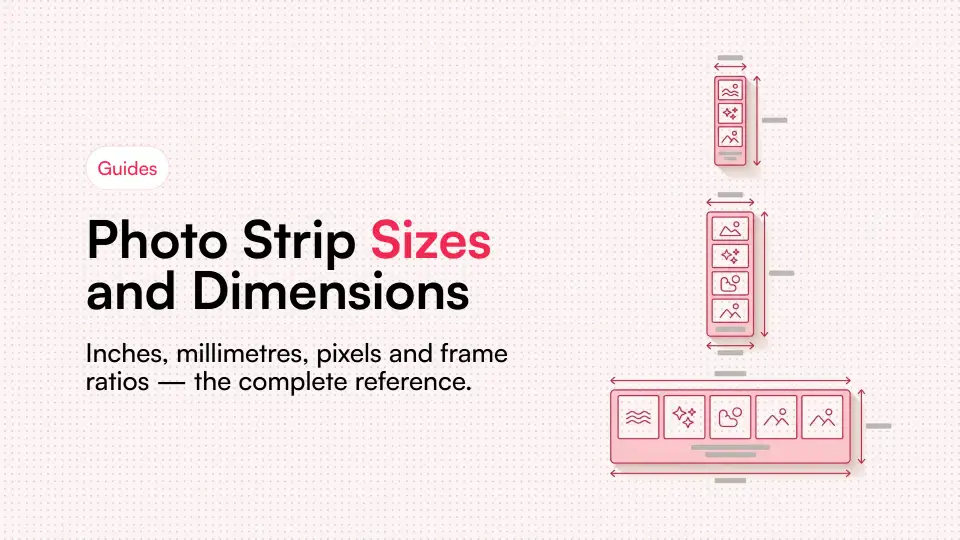
Photo strips look like they follow one universal standard. They do not. The strip from a 1950s arcade booth, the strip from a wedding photo booth, the strip from a Korean self-photo studio and the strip you download from a browser are all different shapes, and the differences are large enough to matter the moment you try to print, frame or post one.
This is the reference page for all of it: the sizes, the pixel dimensions, the aspect ratios of the individual frames, and where the margins and footer actually sit. If you are designing a template, building a frame, or just trying to work out why your strip does not fit the photo sleeve you bought, the numbers are all here.
The three sizes that matter
Almost every photo strip in circulation is one of three sizes. Everything else is a variation on them.
| Format | Inches | Millimetres | Pixels @ 300 DPI | Aspect ratio |
|---|---|---|---|---|
| Modern standard | 2 × 6 | 51 × 152 | 600 × 1800 | 1:3 |
| Vintage / arcade | 1.5 × 6 | 38 × 152 | 450 × 1800 | 1:4 |
| Extended strip | 2 × 8 | 51 × 203 | 600 × 2400 | 1:4 |
2 × 6 inches is the one to design for. It is what event photo booth companies print, what template packs assume, and - the deciding factor - exactly half of a 4 × 6 inch photo print. That last point is why the size won: 4 × 6 is the cheapest and most universally stocked photo paper on earth, and two 2 × 6 strips fit onto one with zero waste.
The 1.5 × 6 vintage proportion is narrower and taller-feeling, and it is what people picture when they imagine an old mall booth. It is a lovely shape but it wastes a quarter of a 4 × 6 sheet, so it is mostly a deliberate aesthetic choice rather than a practical one.
How the four frames divide the strip
A 2 × 6 strip is not simply four squares stacked up. There is an outer margin, gaps between frames, and a footer at the bottom. A typical, well-proportioned breakdown looks like this:
| Element | Size in pixels | Notes |
|---|---|---|
| Outer margin | 30 px (0.1 in) each side | White border framing the whole strip |
| Frame width | 540 px | Strip width minus both margins |
| Frame height | 405 px | Gives each frame a 4:3 landscape shape |
| Gap between frames | 18 px | Small, consistent, unobtrusive |
| Footer | ~150 px | Date, logo or caption |
Four frames at 405 px plus three 18 px gaps is 1674 px, leaving 126 px of footer and margin at the bottom. Adjust the frame height and you change the character of the whole strip - taller frames feel more like portraits, shorter ones feel more like a filmstrip.
Frame aspect ratio: the decision that changes everything
The single most consequential choice in a strip design is the shape of the individual frame, because it determines how much of a person fits in it.
- 4:3 landscape - the classic booth shape. Wide enough for two heads side by side, which is why it is the default for anything involving couples or friends. Crops tightly on a solo portrait.
- 1:1 square - balanced, modern, and forgiving. Works equally well for one person or two. Popular in Korean-style self-photo studios.
- 3:4 portrait - flattering for a single person, includes more of the body, but gets cramped fast with two people in frame.
- 16:9 wide - cinematic, fits three or four people, but each face becomes small on a 2-inch-wide print.
Digital dimensions: what to export for screens
Print wants 300 DPI. Screens want pixels, and the right number depends entirely on where the strip is going.
| Destination | Pixels | Why |
|---|---|---|
| Printing | 600 × 1800 | 2 × 6 in at 300 DPI |
| Instagram Stories | 1080 × 1920 | Strip centred on a 9:16 canvas |
| Instagram feed | 1080 × 1350 | Strip centred on a 4:5 canvas |
| Phone wallpaper | 1170 × 2532 | Varies by device; check yours |
| Messaging / email | 600 × 1800 | Same as print; compresses well |
The important thing on social platforms is that a 1:3 strip does not fit any of their preferred ratios, so uploading a bare strip guarantees a crop. The fix is to place the strip on a correctly-sized background canvas rather than resizing the strip itself - that is covered step by step in sharing photo strips on Instagram.
Frames, sleeves and physical storage
Photo strips are an awkward size for off-the-shelf framing, which catches people out after they have printed a stack.
Photo sleeves
Trading-card sleeves are 2.5 × 3.5 inches - too short. Look instead for "photo booth strip sleeves" or "2 × 6 sleeves", which exist but are a specialist item. Alternatively, a 4 × 6 sleeve holds two strips side by side, which is neat and much easier to buy.
Frames
A 2 × 6 aperture frame is a specialist purchase. The common workaround is a 4 × 6 or 5 × 7 frame with a custom mount cut to a 2 × 6 aperture, which any framing shop will do cheaply. It also looks considerably better than a strip floating in an oversized frame.
Albums
Standard 4 × 6 photo albums work perfectly if you print two-up and do not cut them apart, or if you slide two separate strips into each pocket. This is the cheapest good solution by a wide margin.
Designing your own strip template
If you are building a template from scratch, work in this order:
- Start at 600 × 1800 px, 300 DPI, RGB. Convert to CMYK only if a commercial printer specifically asks for it.
- Set guides at 30 px in from every edge. Nothing important should cross them - trimming is never perfectly accurate.
- Decide frame aspect ratio first, then divide the remaining vertical space. Do not do it the other way round.
- Keep gaps consistent. Uneven gaps are the most common giveaway of an amateur template and are surprisingly visible even at small sizes.
- Give the footer real breathing room. A date squeezed against the bottom edge looks like a mistake; the same date with 20 px of space above and below looks deliberate.
- Test at actual size. Print it, or hold your phone at arm's length. Text that reads fine at 100% zoom on a monitor can be illegible at 2 inches wide.
Why the strip is this shape at all
The proportions are not an aesthetic decision. They are a mechanical leftover. The original Photomaton booth of 1925 moved a single strip of photographic paper past the lens, exposing it several times as it travelled, then developed and dried it in one continuous chemical bath. The strip was long and narrow because it was a strip - a physical ribbon of paper moving through a machine.
Everything that followed inherited that shape. Modern booths use digital sensors and dye-sublimation printers and have no mechanical reason to produce a 1:3 rectangle, but they do it anyway, because that shape has come to mean "photo booth" the way a rounded rectangle with a dial means "telephone".
That history is worth knowing, and it is the subject of the history of the photo booth. It also explains why the constraint survives: the shape is the format, and removing it removes the point.
A quick reference to keep
- Design at 600 × 1800 px, 300 DPI.
- Print as a 4 × 6 sheet holding two strips, then cut down the middle.
- Keep a 30 px safe margin on every edge.
- Choose 4:3 frames for groups, 1:1 or 3:4 for solo.
- Post to Instagram on a 1080 × 1350 or 1080 × 1920 canvas, never as a bare strip.
- Store in 4 × 6 sleeves, two strips per pocket.
Every strip from the LensBooth strip maker is exported at print-ready dimensions, so the numbers above are already handled if you are starting from there. The full printing walkthrough is in how to print photo strips at home.
Frequently Asked Questions
What is the standard photo strip size?
2 × 6 inches (51 × 152 mm), which is 600 × 1800 pixels at 300 DPI. It became the standard because two strips fit exactly onto one 4 × 6 inch photo print, the cheapest and most widely available photo paper size.
What size are vintage photo booth strips?
Older arcade and mall booths typically produced strips around 1.5 × 6 inches (38 × 152 mm) - noticeably narrower than the modern 2 × 6 standard. That extra narrowness is a large part of why vintage strips read as vintage.
What aspect ratio should each photo booth frame be?
4:3 landscape is the classic choice and fits two people comfortably side by side. 1:1 square is more forgiving and works equally well solo or in pairs. 3:4 portrait flatters a single person but gets cramped with two.
What resolution should a photo strip be?
300 DPI for anything you intend to print, which is 600 × 1800 pixels for a 2 × 6 strip. For screens, export to match the destination: 1080 × 1350 for an Instagram feed post or 1080 × 1920 for Stories, with the strip centred on that canvas.
Why are photo booth strips long and narrow?
It is a mechanical leftover. The original 1925 Photomaton moved a single ribbon of photographic paper past the lens, exposing it several times as it travelled. The strip was long and narrow because it literally was a strip of paper, and every booth since has inherited that shape.
Can I create a standard 2x6 photo strip from my phone?
Yes. Browser-based photobooths like LensBooth automatically format your photos into standard 2x6 inch strips at 600x1800 pixels (300 DPI) on mobile devices, ensuring the exact same print quality as a desktop computer.
Sources and further reading
- ISO 216: international paper sizes - The A-series standard your printer expects, and the reason A4 and A6 crop the way they do.
- Photo booth - overview and history - Where the classic narrow strip proportions came from in the first place.