
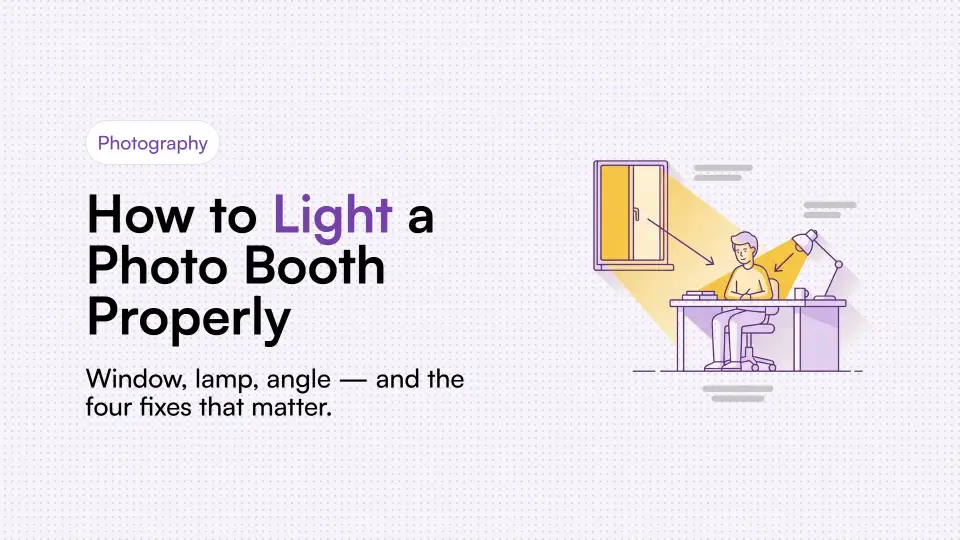
If you improve one thing about your photographs, improve the light. Not the camera, not the pose, not the filter. Light determines how a face is shaped, whether skin looks healthy or grey, whether the image is sharp or noisy, and whether the whole thing reads as a memory or as a badly-lit selfie.
The good news is that lighting a face well requires no equipment. A window and a lamp are enough, and the principles are simple enough to internalise in about ten minutes.
This guide covers all of it: where to sit, what to turn off, how to handle the difficult situations, and the specific fixes for the four lighting problems that account for nearly every disappointing photo strip.
The one rule that matters most
Face your light source. Do not sit in front of it.
This is the whole guide compressed into one line. If there is a window in the room, turn so it is in front of you rather than behind you. If there is a lamp, put it behind the camera rather than behind your head.
The reason is how cameras meter exposure. A camera averages the brightness of the scene and adjusts accordingly. With a bright window behind you, the camera sees a very bright frame and darkens everything - including your face, which was not bright to begin with. You end up as a silhouette in front of a correctly-exposed window.
Turn around and the same window now lights your face directly. The camera exposes for a well-lit subject and the background falls into shadow, which is exactly the right way round.
Why overhead lighting is the enemy
Almost every room is lit from the ceiling, and almost every room is therefore badly lit for faces.
A ceiling light comes from directly above. It puts your brow ridge in front of your eyes, casting them into shadow. It creates a hard shadow under the nose and another under the chin. The result is the specific unflattering look everyone recognises from badly-lit party photographs, and no filter corrects it because it is geometry rather than colour.
The fix takes five seconds. Turn the ceiling light off and switch on a lamp at roughly face height instead. A desk lamp, a table lamp, a floor lamp - anything at eye level. The difference is dramatic and it is free.
If you cannot turn the overhead light off, at least move so it is in front of you rather than directly above. Standing a metre closer to the doorway is often enough.
Soft light and hard light
These are the two categories, and choosing between them is the main creative decision in lighting.
| Soft light | Hard light | |
|---|---|---|
| Source | Large relative to you | Small relative to you |
| Shadows | Gradual, gentle edges | Sharp, defined edges |
| Effect on skin | Smooths texture | Emphasises texture |
| Examples | Overcast sky, big window, bounced lamp | Bare bulb, direct sun, phone torch |
| Best for | Portraits, groups, anyone | Drama, black and white, character |
Soft light is more forgiving and is what most people want most of the time. The rule for producing it: make the source bigger, or bring it closer. A bare bulb is hard. The same bulb bounced off a white wall becomes soft, because the wall is now the source and the wall is large.
Hard light is a deliberate choice, and a good one for black and white and for anything atmospheric. It is unforgiving of skin texture but it produces structure and mood that soft light cannot - the approach used in the Halloween guide.
Where to put the light
Direction changes the shape of a face more than anything else you can control.
- Front, at eye level. Even, flattering, minimal shadow. The safest option and the right default for group photographs. Can look slightly flat on one person.
- 45° to one side, slightly above. The classic portrait position. Produces gentle shadow on one side of the face, which adds depth and structure. This is the best single position for a solo strip.
- 90° to one side. Half the face lit, half in shadow. Dramatic, strong, and excellent in black and white.
- Behind you. Silhouette. Occasionally a deliberate effect, usually a mistake.
- Below the face. The campfire-story look. Distorting and almost always wrong outside of horror.
- Directly above. The ceiling-light problem. Avoid.
If you are unsure, use 45°. It works on nearly every face and it is what portrait photographers reach for by default.
Colour temperature, and why mixing is a problem
Light has a colour, measured in kelvin. Candles are around 1900K and very orange. Household bulbs are 2700-3000K and warm. Daylight is roughly 5500K and neutral. Overcast sky and screens run cooler, at 6500K and above.
A camera compensates for this with white balance - it guesses the colour of the light and corrects for it. This works well when there is one light source and badly when there are several.
In a room with a warm lamp, daylight from a window and a laptop screen, the camera has to choose. Whatever it chooses is wrong for the other two, which produces the familiar mixed-lighting look: one side of the face orange, the other blue, and skin that looks slightly ill.
The fix is to pick one and eliminate the others. Either close the curtains and use lamps, or open them and turn the lamps off. Either is fine. The mixture is not.
If you cannot control it - at an event, in someone else's house - switch to black and white. Monochrome removes colour temperature from the equation entirely, which is why it works so well in mixed lighting, as argued in why black and white photo strips look so good.
Making a good setup with what you already own
Daytime, indoors
- Find the largest window in the room.
- Sit or stand facing it, about a metre away.
- Turn off every other light.
- Put the camera between you and the window, slightly below the window's centre.
This is the best free lighting setup available and it beats most equipment. Overcast days are better than sunny ones - cloud acts as an enormous diffuser and produces very soft light.
Evening, indoors
- Turn off the ceiling light.
- Position one lamp behind and slightly above the camera, at roughly face height.
- If the light is harsh, aim it at a white wall or ceiling and let it bounce back.
- Add a second lamp on the opposite side at lower intensity if the shadows are too deep.
If you want to spend a little
- A white sheet or a large piece of card to bounce light. Costs almost nothing and is the most effective upgrade available.
- A daylight-balanced bulb (5000K) in an existing lamp. A few pounds, and it removes the orange cast from evening photographs entirely.
- A small LED panel. Only worth it if you are shooting frequently. Position and diffusion matter far more than the panel.
The four common problems and their fixes
Your face is dark and the background is bright
Backlighting. Turn around so the light is in front of you. If you cannot move, add a light or a reflective surface in front of your face - even a laptop screen displaying a white page helps noticeably.
The image is grainy and blotchy
Not enough light. In low light a camera raises its sensitivity, and noise comes with it. Webcams are far worse at this than phones because their sensors are small. The only real fix is more light - noise reduction in software trades grain for smearing.
There are hard shadows under the eyes
Overhead lighting. Turn it off and use a lamp at face height instead.
Your skin looks orange or grey
Mixed colour temperature. Pick one type of light and turn off the others. If that is not possible, go monochrome.
If your image still looks poor after fixing the light, the issue is likely the camera itself - the webcam quality guide covers the rest.
Lighting more than one person
- Use softer, more frontal light. A 45° light that flatters one person leaves the second in shadow. Groups need broader, flatter light.
- Get everyone the same distance from the source. Light falls off very quickly - someone half a metre further back is noticeably darker.
- Watch for one person shadowing another. Stagger heights and offset positions rather than lining people up.
- Bounce it. For groups, a lamp aimed at the ceiling turns the whole ceiling into a large soft source, which covers everyone evenly.
For group arrangement and framing generally, best friend photo ideas covers how to fit several people into a booth crop.
Once the light is right, everything else gets easier. Open the booth, face a window, and take three strips in a row.
Frequently Asked Questions
What is the best lighting for photo booth photos?
A large window with you facing it, every other light turned off, and the camera between you and the window. It is free, it beats most equipment, and overcast days are better than sunny ones because cloud acts as an enormous diffuser.
Why do my photos look dark with a bright background?
You are backlit. Cameras average the brightness of a scene, so a bright window behind you makes the camera darken everything including your face. Turn around so the window is in front of you and the same light now falls on your face instead.
Why is overhead lighting bad for photos?
Light from directly above puts your brow ridge in front of your eyes and casts them into shadow, while creating hard shadows under the nose and chin. It is a geometry problem rather than a colour one, so no filter corrects it. Switch the ceiling light off and use a lamp at face height.
Where should you put a lamp for portraits?
At 45° to one side and slightly above eye level. This is the classic portrait position - it produces gentle shadow on one side of the face which adds depth and structure. Straight-on at eye level is flatter but safer for groups.
Why does my skin look orange or grey in photos?
Mixed colour temperature. Household bulbs are warm at around 2700K, daylight is neutral at 5500K, and a camera can only correct for one of them. Pick one type of light and switch the others off - or shoot in black and white, which removes the problem entirely.
Can I use an online photobooth in low light or at night?
Yes, but avoid relying on ceiling lights or just the laptop screen. Place a single table lamp directly behind your camera at eye level, diffused with a plain lampshade or paper. This provides clean frontal illumination without casting heavy shadows under your eyes.
Sources and further reading
- Colour temperature - The Kelvin scale behind warm and cool light, and why mixing two sources gives you an unfixable colour cast.
- Three-point lighting - The key, fill and back light arrangement this guide simplifies down to one lamp and one reflector.