
Some photo strips look like four unrelated photographs stapled together. Others look like one object. The difference is almost never the quality of the individual frames - it is whether anything holds them together.
That connective tissue has a name in design: visual coherence. It comes from a small number of decisions made before the countdown starts, and once you know what they are, they take about ten seconds to apply.
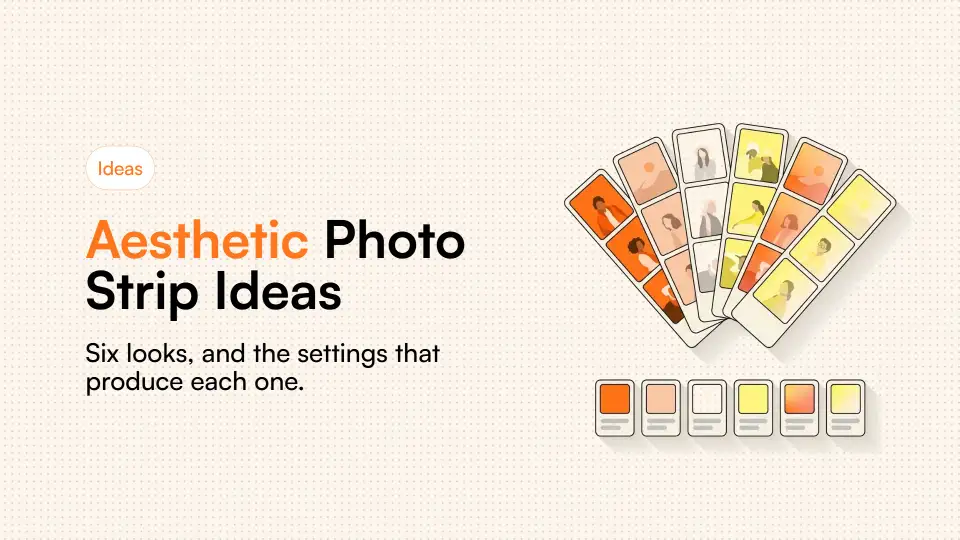
This is a guide to making strips that look considered, covering the six aesthetics people most often want and the technical settings that produce each one.
The three decisions that create coherence
One light source, unchanged. If the light shifts between frames - you move, a cloud passes, someone turns a lamp on - the four frames stop belonging to each other. This matters more than anything else on this page. Pick a position and stay in it.
One background. Not necessarily a plain one, but a consistent one. Four frames against four different walls is four photographs. Four frames against one wall is a strip.
A limited palette. Two or three colours across clothing, background and props. This is what makes strips look art-directed, and it is the decision people skip most often.
Soft and warm
The most popular look and the most forgiving. Gentle light, warm tones, no hard shadows. Reads as intimate and slightly nostalgic.
- Light: a large window during the hour after sunrise or before sunset, or a warm lamp bounced off a wall. Never direct overhead lighting.
- Palette: cream, oatmeal, rust, soft brown, muted green.
- Filter: a warm or amber filter with reduced contrast. Avoid heavy saturation - warmth should come from the light, not the slider.
- Wear: knitwear, linen, anything with visible texture. Texture is what stops warm tones looking flat.
- Avoid: pure white, cool blue and anything with a logo on it.
This look fails in one specific way: overhead room lighting. A ceiling light produces shadows under the eyes and nose that no filter can rescue. Turn it off and use one lamp at face height instead.
Clean and minimal
Plain background, even light, no props, restrained expressions. The hardest look to do badly and the hardest to make interesting.
- Light: even and frontal. A window directly in front of you, or two lamps at 45° on either side.
- Palette: one neutral background, one clothing colour. That is all.
- Filter: none, or a very slight contrast lift. Minimal aesthetics are ruined by visible processing.
- Wear: solid colours, simple shapes.
- Composition: centre yourself and leave space above your head. Tight crops fight the minimal look.
Because there is nothing to hide behind, small variations carry the whole strip - a slight turn of the head, a change in where you are looking. Restraint is the point.
Film and grain
Muted colours, visible grain, slightly lifted blacks, imperfect focus. Currently the most-imitated look and the most often overdone.
- Light: uneven is fine and often better. Film tolerates mixed lighting in a way digital does not.
- Palette: desaturated. Muted greens, faded reds, dusty blues.
- Filter: a film-emulation preset, then reduce its strength by about half. Almost every film filter is applied twice as strongly as it should be.
- Grain: subtle. Grain you can see at a glance is too much - at 2 inches on a printed strip it becomes noise.
- Blacks: lift them slightly. True black is a digital signature; film blacks are dark grey.
The specific characteristics of the film look, and why filters imitate it imperfectly, are covered in how to get the vintage film look.
High contrast black and white
Strong shadows, bright highlights, no colour. The most timeless option and the one that flatters the widest range of faces.
- Light: directional. One source, off to one side, nothing filling the shadow. A desk lamp at 45° is ideal.
- Contrast: push it further than feels comfortable. Weak black and white looks like a mistake; strong black and white looks deliberate.
- Wear: whatever you like - colour is irrelevant, but tonal contrast is not. A white shirt against a dark background reads strongly; grey on grey does not.
- Background: darker than you. This separates the subject and is what makes monochrome portraits work.
Monochrome removes the single biggest variable in an amateur photograph - inconsistent colour temperature. That is a large part of why it so reliably looks better, as argued in why black and white photo strips look so good.
Bright and saturated
Bold colour, high energy, hard light. The opposite of every muted trend, and it stands out precisely because of that.
- Light: bright and plentiful. Direct sun works here, which is true of almost no other look on this list.
- Palette: two strong contrasting colours. Red and blue, yellow and purple. Commit fully.
- Background: coloured, not neutral. A painted wall, a bedsheet, a door.
- Filter: raise saturation and contrast, keep the white balance neutral so colours stay accurate.
- Expression: big. Subtle expressions look lost against strong colour.
Moody and dark
Deep shadows, one small light, most of the frame in darkness. Difficult, and extremely effective when it works.
- Light: one small source, close to you. A phone screen, a candle, a lamp with the shade removed. Everything else off.
- Position: the light beside or slightly behind you, not in front. Front lighting destroys the whole effect.
- Exposure: underexpose deliberately. If the booth allows exposure adjustment, take it down.
- Palette: irrelevant - almost nothing will be visible except what the light touches.
Building a palette without thinking about it
Colour is the part people find hardest, mostly because it sounds like it requires taste. It does not - it requires a rule, and almost any rule produces a better result than no rule.
Pick the background first, then dress to it. This is backwards from how most people approach it and it works far better. The background occupies more of the frame than you do, so it should be the fixed point.
Use the 60-30-10 split. Roughly 60% of the frame in one dominant colour, usually the background. 30% in a secondary colour, usually clothing. 10% as an accent - a prop, a scarf, something small and brighter than everything else. This is a standard interior design ratio and it transfers to photographs almost unchanged.
Take one colour out. If a frame feels busy, the fix is nearly always removal rather than addition. Take off the patterned jacket, move the coloured mug out of shot, close the door with the poster on it.
Neutrals are not a failure. Cream, grey, black, white and brown across all four frames will read as deliberate, always. A restricted neutral palette is the safest route to a strip that looks styled, and it never dates.
Matching the look to your camera
Not every aesthetic survives every camera. Being realistic about this saves a lot of frustration.
| Aesthetic | Laptop webcam | Phone camera |
|---|---|---|
| Soft and warm | Good - needs window light | Excellent |
| Clean and minimal | Excellent | Excellent |
| Film and grain | Good - grain hides webcam softness | Good |
| Black and white | Excellent - hides colour problems | Excellent |
| Bright and saturated | Fair - webcams clip highlights | Excellent |
| Moody and dark | Poor - low-light noise | Good on recent phones |
If you are on a laptop webcam, black and white and film looks will serve you best - both of them turn the webcam's weaknesses into stylistic features. Bright saturated work and low-light work both expose them.
The framing details that finish it
Whether you prefer Korean Life4Cuts-style pastel strips or Polaroid-style instant frames, layout details matter. You can test these aesthetic border styles directly in our free photo strip maker.
- Border colour. White is standard and neutral. Cream is warmer and works with almost everything. Black reads as more serious and makes colours appear more saturated.
- Consistent orientation. Four frames all landscape or all portrait. Mixing them breaks the object.
- Leave headroom. Faces cropped at the top of the frame look accidental, not intentional.
- Vary distance, not angle. Moving closer and further between frames creates rhythm. Tilting the camera creates chaos.
- Date it. A small date in the footer is the one piece of text that improves a strip rather than cluttering it, and it becomes the most valuable part in a decade.
The dimensions behind all of this - margins, frame ratios, footer space - are in photo strip sizes and dimensions.
Pick one aesthetic, set the light for it, and take three strips in a row without adjusting anything. Consistency is the entire trick. The booth has the filters, and the light is up to you.
Frequently Asked Questions
How do I make my photo strips look aesthetic?
Three decisions before you start: keep one light source and do not move between frames, use one consistent background, and limit yourself to two or three colours across clothing, background and props. Consistent lighting across all four frames accounts for most of what people mean by "aesthetic".
What is the best filter for a photo strip?
It depends on the look, but the most common mistake is applying any filter at full strength. Film emulations in particular are usually built about twice as strong as they should be - reduce to around half. Black and white is the most reliable choice on a laptop webcam because it removes inconsistent colour temperature entirely.
Why do my photo strips look inconsistent?
Almost always because the light changed between frames - you moved, a cloud passed, or someone switched a lamp on. Four frames under different light stop reading as one object. Pick a position, keep the lighting fixed, and do not move between frames.
What aesthetic works best on a laptop webcam?
Black and white and film-grain looks, because both turn a webcam's weaknesses into stylistic features - monochrome hides poor colour accuracy and grain hides softness. Bright saturated work and low-light moody work both expose webcam limitations badly.
What colour should the photo strip border be?
White is neutral and standard, cream is warmer and works with almost every palette, and black reads as more serious while making colours appear more saturated. Whichever you choose, adding a small date in the footer is the one piece of text that improves a strip rather than cluttering it.
Can I make a vintage aesthetic photo strip online?
Yes. To get a vintage aesthetic without physical film, choose a classic 1:3 vertical strip layout and apply a dedicated Vintage or Noir filter before shooting. Keeping a warm, consistent light source and choosing a neutral background gives you the characteristic lifted shadows and contrast of analog booth prints.
Sources and further reading
- Film grain - What grain physically is, and why simulating it is not the same as adding noise.
- Colour temperature - The Kelvin scale behind warm and cool light, and why mixing two sources leaves a cast you cannot correct.